标签是附在主要内容或帖子上用于识别的小信息。 它告诉访客帖子是什么。 如果标签被正确提及,它有助于很容易找到内容。
以下是在WordPress中添加标签的步骤。
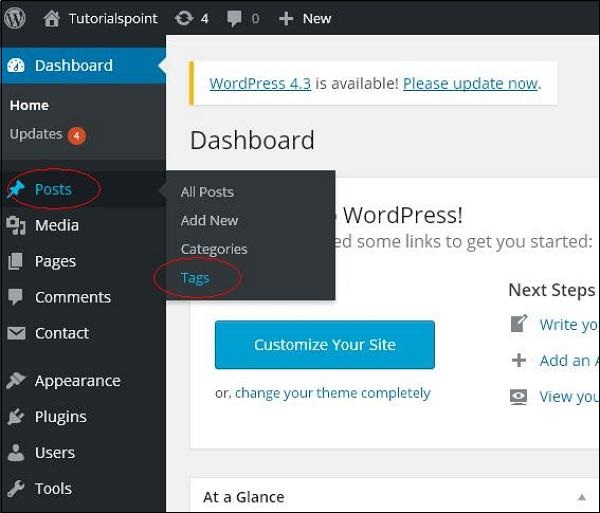
步骤(1) – 点击WordPress中的Posts → Tags。
步骤(2) – 显示标签页面。

以下是标签上的字段的详细信息。
- Name– 输入标签的名称。
- Slug – 选择用来描述您的讯息的字词。 它在标记URL中指定。
- Description– 添加标记的简要说明。 当您将鼠标悬停在标记上时,它会显示。
填写所有有关标记的信息后,点击Add New Tag按钮。
步骤(3) – 新创建的标签将显示在页面的右侧,如以下屏幕截图所示。


 湘公网安备43020002000238